This article walks through how to edit the Content, Policies, Pricing and Availability sections of your listings in Boost.
Overview
There will be times that you need to update your listings in Boost. Sometimes, it’s an edit to one listing and other times you will need to update all at the same time.
Click Here for more information on Listings Settings
| Note |
|---|
IMPORTANT: Each Channel needs to be configured separately! Example: If you have 5 pet friendly properties to configure in Boost and you are connecting to Vrbo and Google via Boost. Then you’ll follow the below instructions for each channel. |
Getting Started
Click Here for instructions on how to navigate Boost.
Edit Multiple Listings
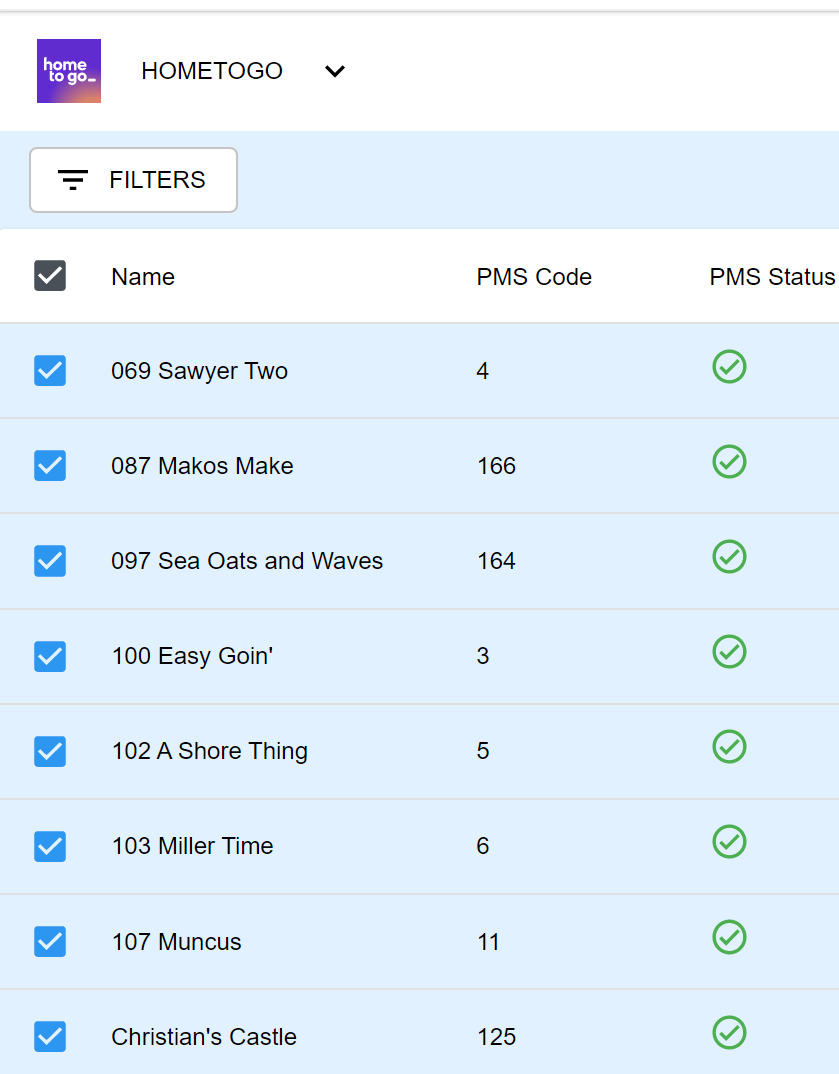
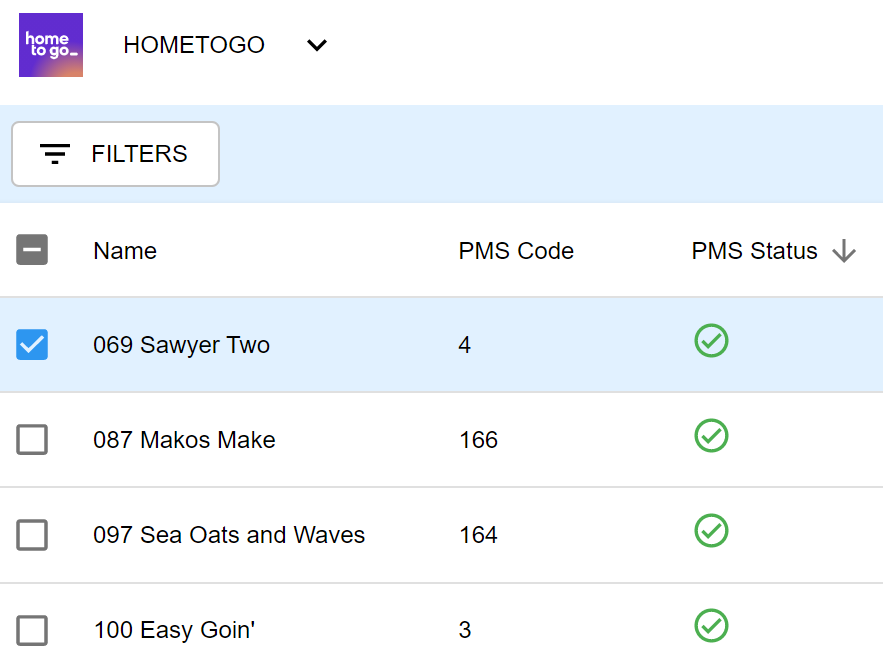
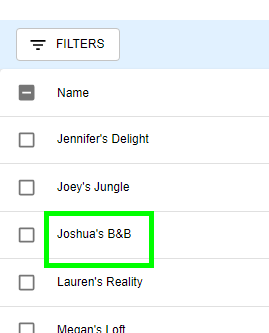
To begin editing settings you must select the listing(s) that apply to the setting you’re configuring. Do this by selecting the blank white box next to the appropriate listings(s), or select the blank white box at the top of your listings to apply a configuration to all properties.
2. After selecting the appropriate listing(s), you will notice you have the option to select BULK EDIT to the far right of your screen.
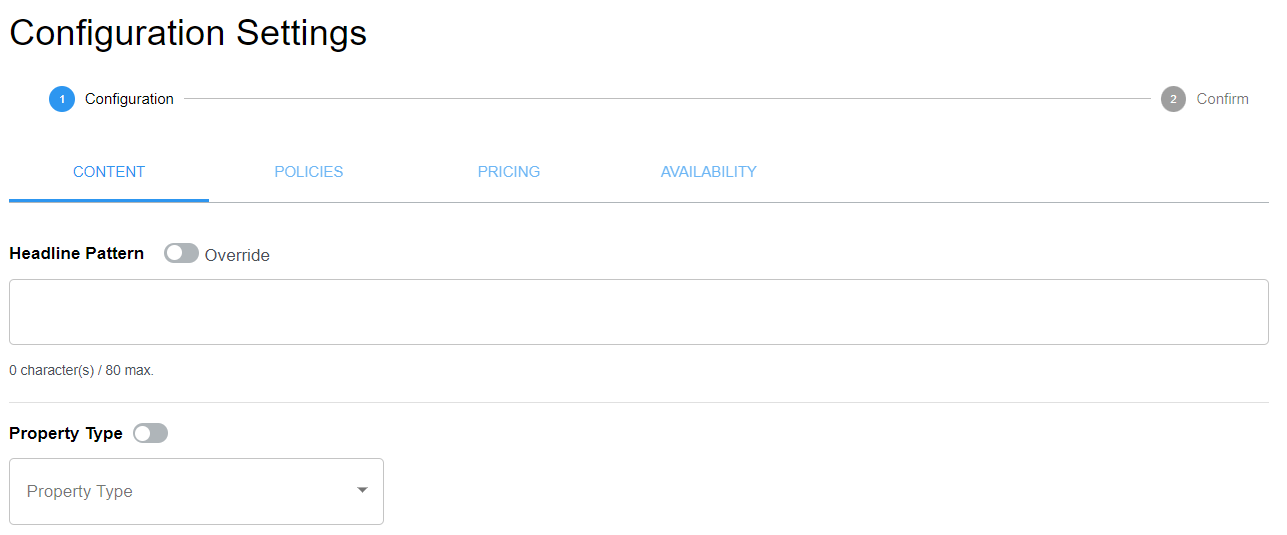
3. Once you have selected BULK EDIT an additional menu will open with four tabs to make configurations to Content, Policies, Pricing and Availability.
| Info |
|---|
It is important to note that the Content, Policies, Pricing and Availability sections can vary depending on what channel you’re working in. |
4. After making your changes. Select NEXT on the bottom of the screen.
5. Finally select FINISH to make those changes.
6. To double check that the changes were made, select a listing by clicking on the name of the listing and then click on the appropriate category.
Edit a Single Listing
In order to edit a single listing, select the listing by clicking on the name of the unit
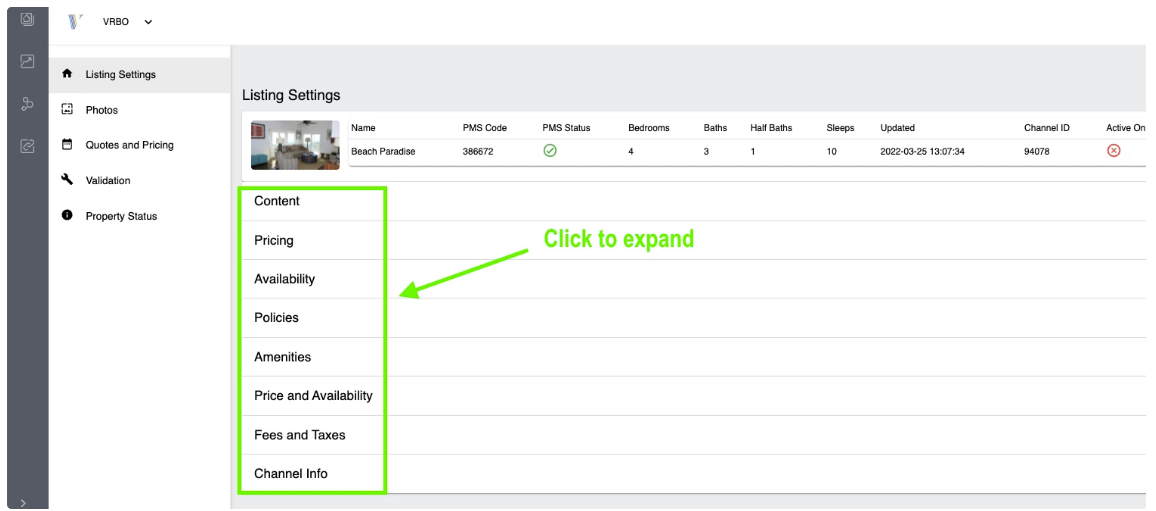
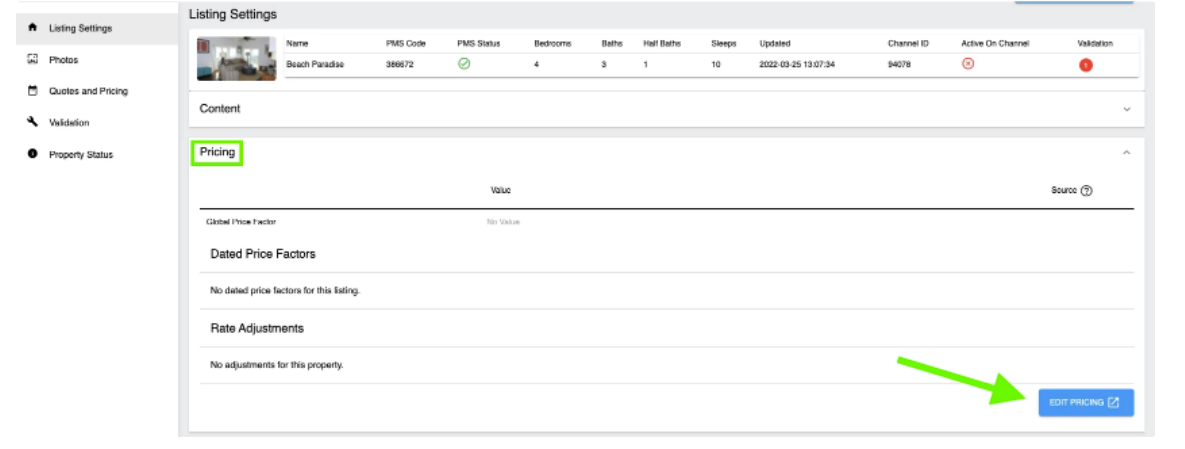
On the Listing Settings page, Click on any of the listing detail categories to expand it, then click the blue EDIT button on the bottom right side of the section.
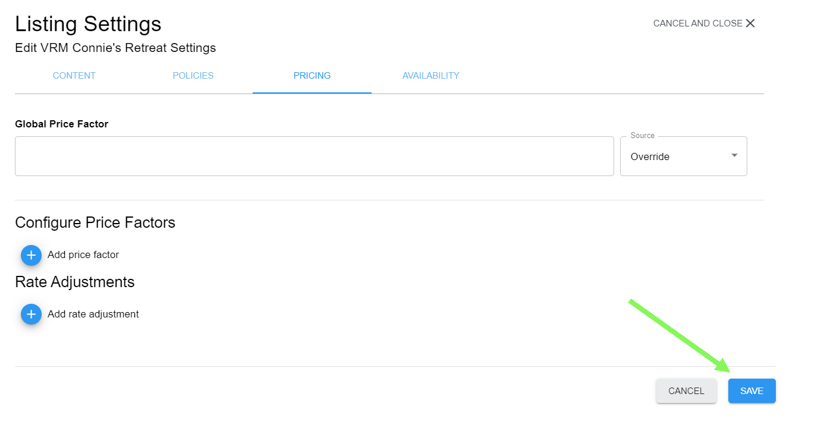
Once you’ve made the changes, click the SAVE button on the bottom right of the page.
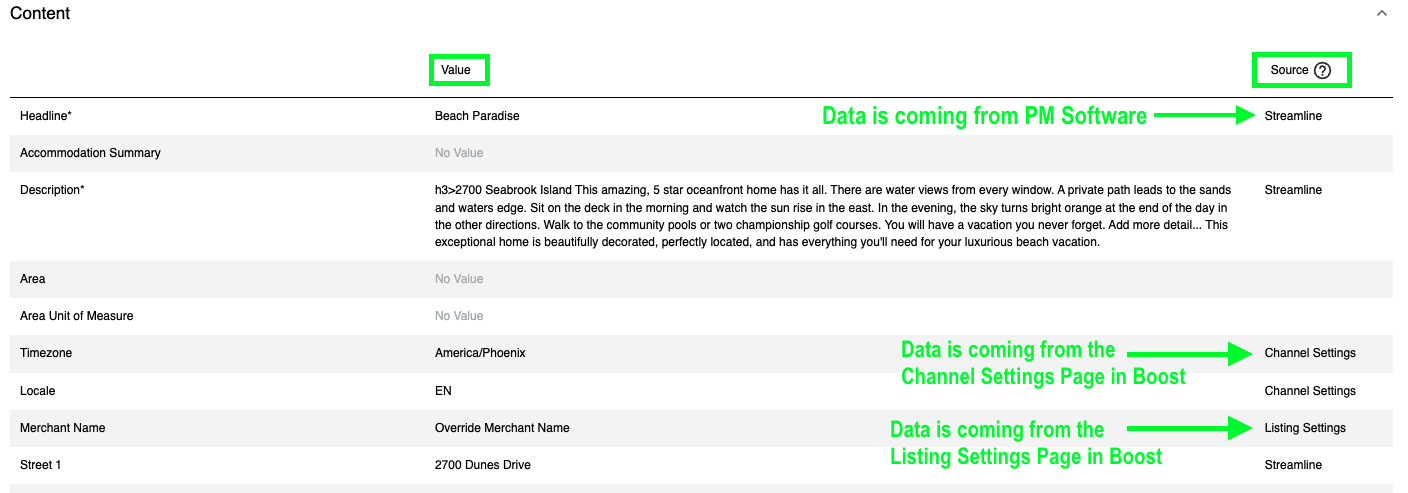
The Value Column
The Value column reflects the data that is currently being used for each field. If it says No Value, nothing has been configured.
The Source Column
The Source Column shows where the data in the value column is coming from.
There are 3 options for what will show in this column:
PMS Settings - This indicates that the data in a specific field is coming from your PM Software and any changes you make there will change this value. Note the Name of your specific PM Software will show. Ex: “VRM” or “Streamline”
Channel Settings - This indicates that the data in a specific field is coming from the channel settings page of Boost. Channel Settings change information for all of your listings. This will override what is coming from your PM Software but can be overridden by changes made in Boost at the listing level.
Listing Settings - This indicates that the data in a specific field is coming from edits made in Boost on the listing level. This will override any other source, including your PM software and changes made on the Channel Settings page in Boost. This changes information for a specific listing.
After going through each of the above sections and making the appropriate configurations, review the Jobs page to ensure your Edits successfully completed and have applied to your unit(s). Click Here to see our documentation on how to interpret the Jobs page.
Configuring Content, Policies, Pricing and Availability
| Info |
|---|
It is important to note that the Content, Policies, Pricing and Availability sections can vary depending on what channel your are making configurations for. You will see the differences outlined in the screenshots below each section. |
Content
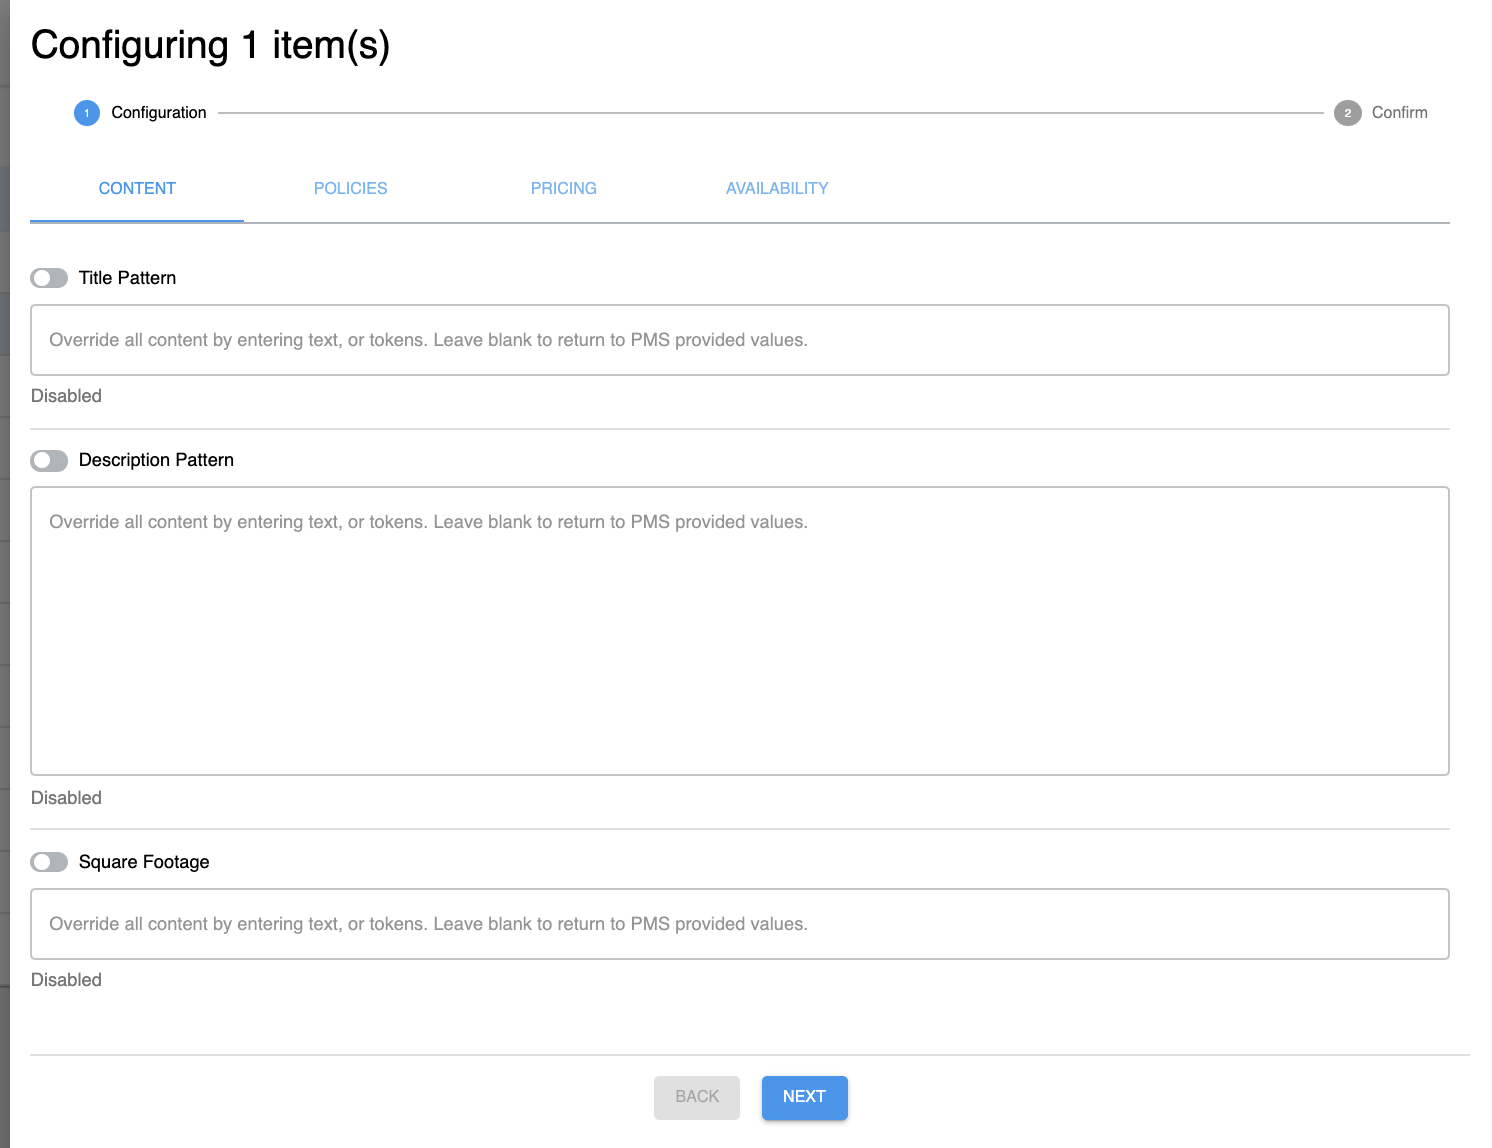
The content section allows you to override Title and Description Patterns as well as Square Footage by entering text or tokens. You can leave these sections blank to default back to PMS provided values.
Policies
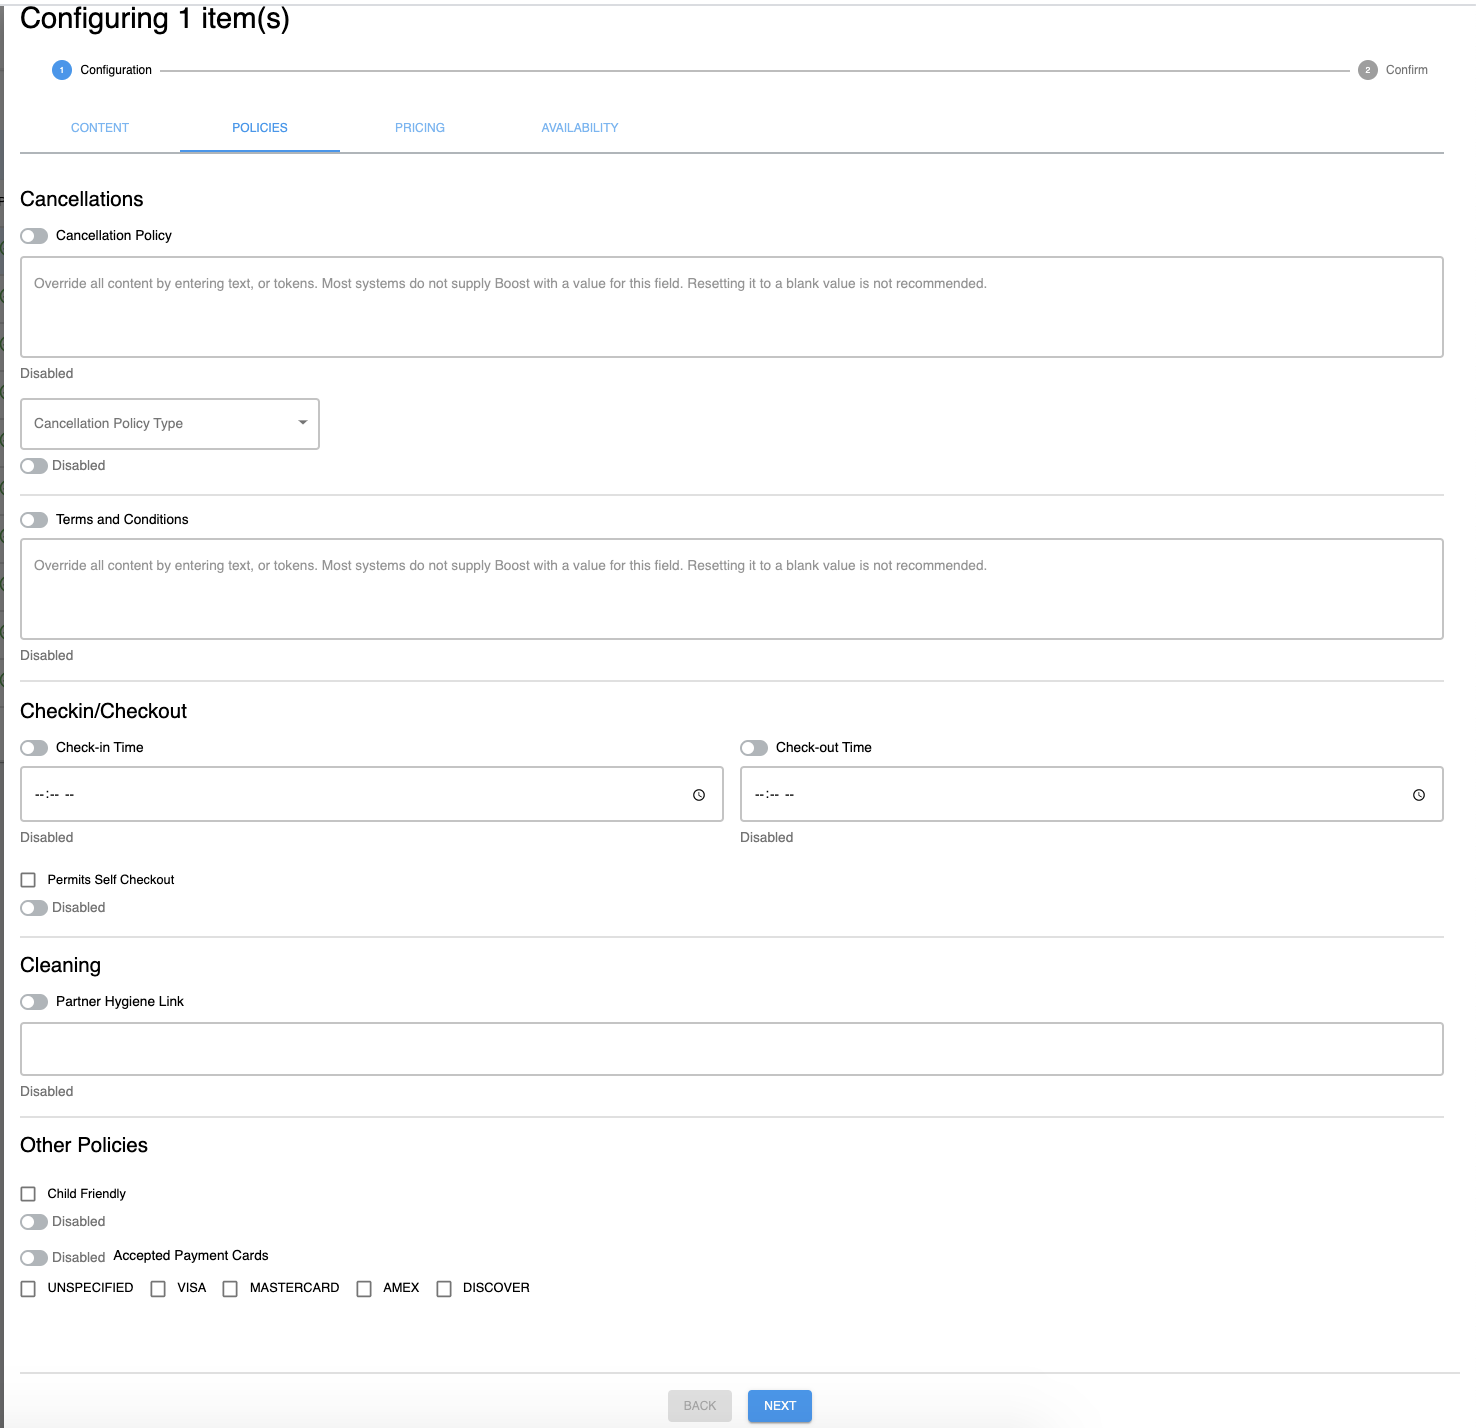
The policies section allows you to enter in a Cancellation Policy and a Cancellation Policy Type. You can also input your Terms and Conditions, Check in/Check out time, additional information about cleaning and other policies (child friendly or not).
Pricing
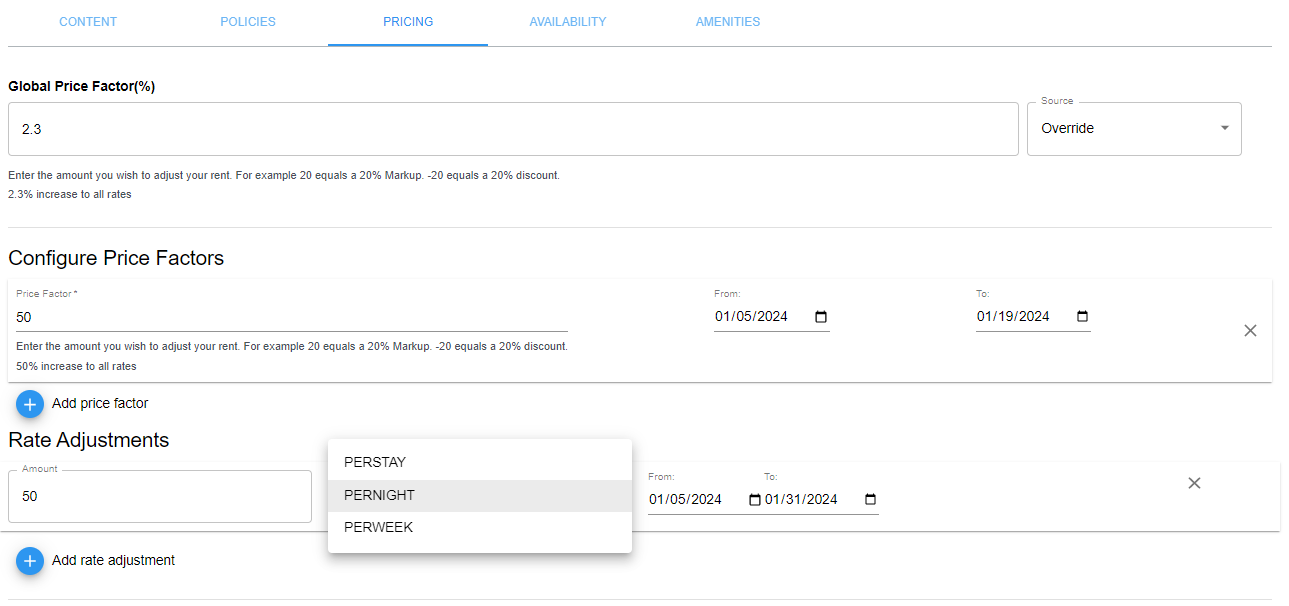
The pricing section allows you to configure a Price Adjustment %, Dated Price Factors, or and other Rate Adjustments.
| Info |
|---|
Price adjustments in Boost should be used to increase pricing to cover Boost and Channel commissions. If you want to change the base rates for listings, we recommend changing these in your property management system. |
Price Adjustment %
This is a % price adjustment on rent to increase or decrease the amount you’re charging via Boost, example by entering the number “20” into the Price Adjustment % field equals a 20% Markup OR entering “-20” equals a 20% discount.
Note: This can also be added in the Pricing Section of the Channel Settings page to apply to all of your listings by default.
Dated Price
FactorFactors
The Dated Price Factor is a % price adjustment on rent that applies to rent. This allows you to increase or decrease the amount you’re charging rental rate within a specific time period by whatever percent you set.
Rate
AdjustmentAdjustments
Rate Adjustment is a flat $ price adjustment. It can be applied per stay, per night or per week or indefinitely.
To have the rate adjustment apply to specific dates, simply enter start and end dates on the Rate Adjustment calendar
To have the rate adjustment apply indefinitely, leave the Rate Adjustment calendar dates blank
Example: $50 per night from 1/5/2024 to 1/31/2024. Or if the dates were removed, it would add $50 per night for all time on this listing.
Availability
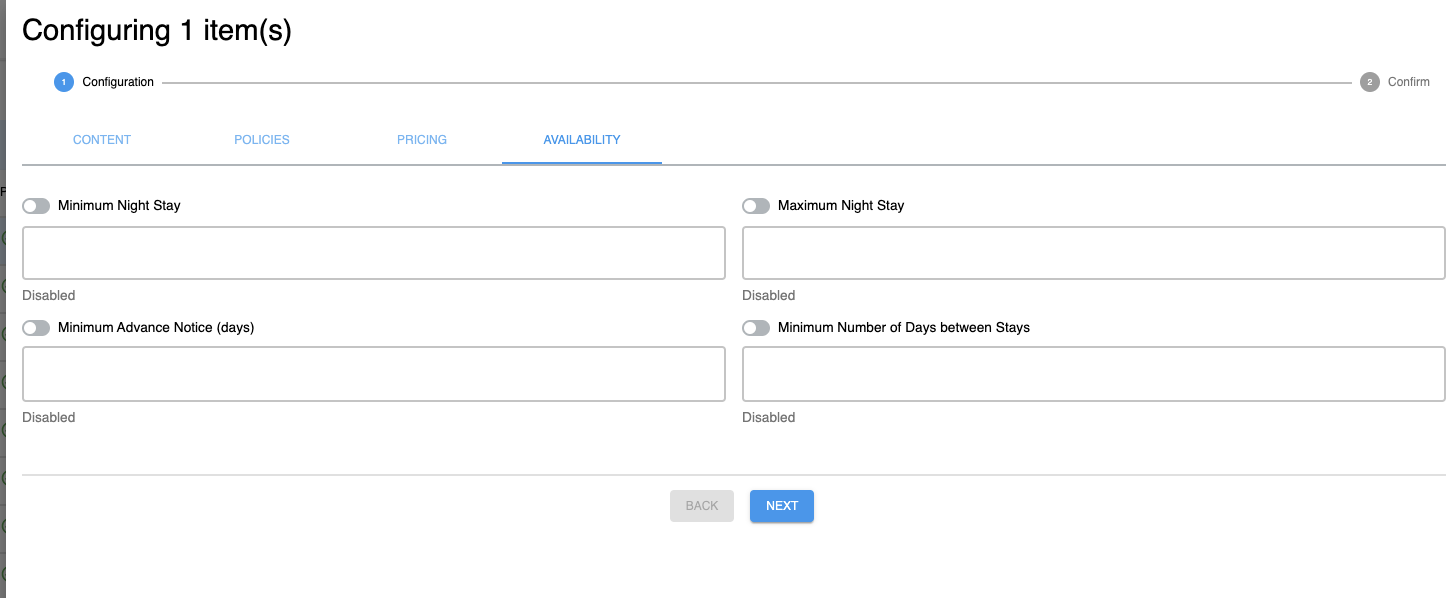
The availability section allows you to configure your minimum and maximum night stay, a minimum advance notice and minimum number of days between stays.
After going through each of the above sections and making the appropriate configurations, review the Jobs page to ensure your Edits successfully completed and has applied to your unit(s). Please see our documentation on how to interpret the Jobs page: Jobs Queue (Boost New UI)

